
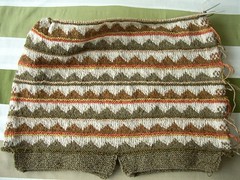
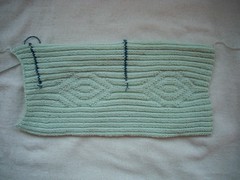
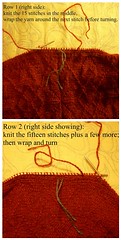
I made the steek rather wide, since I didn't want to cut it open in the middle but to cut out the middle part of it with all the dangling threads.
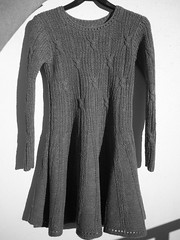
Then I picked up stitches along the whole front and the whole back and started knitting the side panels vertically. The original design has garter-stitch side panels, but I prefer stocking stitch. (It's the same thing with the yoke). The first and last ten stitches are garter stitch, though, to blend with the bottom border and to keep it from curling. Also, I chose to have a split, which isn't in the original design.
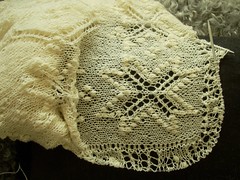
 |
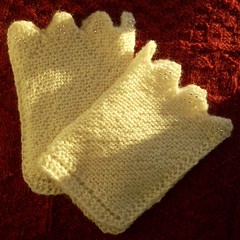
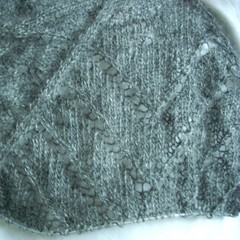
| This is what the wrong side looks like. |
I first tested making the side panels all brown, but changed my mind: I wanted to accentuate the construction with some stranded colourwork and decided to knit more "teeth" before a few all brown rows. I ended with a purl row (or, rather, a knit row on the wrong side) before casting the sides off together from the wrong side.
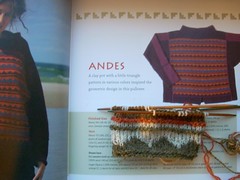
Ron asked about the sleeves. They will get more "teeth" (the more, the merrier) possibly turned into simple lines. Maybe a splash of orange or yellow... I'm surprising myself by not deciding very much in advance - I usually like deciding most things in advance but leaving some room for improvisation and changes.


